| Configuration Name | Set a customized name for the sensor configuration. | Type the desired name into the text box. |
| Sensor measures | Choose what your attached sensor is measuring. | Use the drop-down menu to select one of the following options: - Temperature. Units: Celsius, Fahrenheit.
- Pressure. Units: PSIG, PSIA, BarG, BarA.
- Level/Distance. Units: ft, in, m, mm.
- Weight: lbs, kg.
- pH. Units: SU.
- Conductivity. Units: mS/cm.
- Blue-Green Algae. Units: RFU, cells/mL.
- Chlorophyll. Units: RFU, ug/L.
- Dissolved Oxygen. Units: mg/L.
- Turbidity. Units: NTU.
- Total Chlorine. Units: mg/L.
- Free Chlorine. Units: mg/L.
- Hydrogen Sulfide. Units: PPM.
- Other/Unitless. Units: Value.
|
| Units | Choose the desired units. This option affects the other available configuration options. | Use the drop-down menu to choose the desired units. Options will vary based on what the sensor measures. |
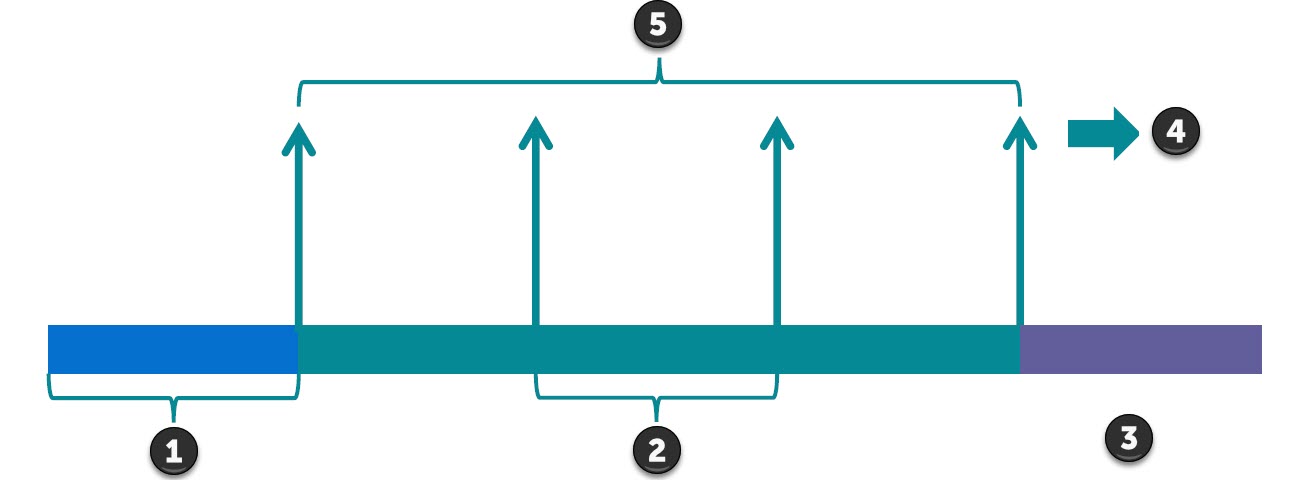
| Sensor settling delay | Choose how long the sensor will be powered on before a reading is taken. | Type the desired time into the text box, in milliseconds. Recommended default value: 1500 ms. |
| Sensor power off delay | Choose how long the sensor will be powered on after a reading is taken. | Type the desired time into the text box, in milliseconds. Default value: 0.0 ms. |
| Sensor sample count | Choose how many samples are taken per sampling. These samples are averaged to produce one reading. | Type the desired number of sample counts into the text box. |
| Time between samples | Choose the amount of time between samples. | Type the desired time into the text box, in milliseconds. |
| Precision | Choose the number of decimal places used in readings. | Use the up and down arrow buttons to select the desired number of decimal places. |
| Activation settings | Choose where mA values are set during activation. | Use the drop-down menu to choose one of the following options: - Prompt for Field Calibration: Change the actual value being measured, and have the Smart Gateway read the corresponding mA values. Not used for water utilities.
- Prompt for mA values during Activation: During activation, use the factory calibration to tell the Smart Gateway the range of the sensor and how to scale the mA values.
- Set mA values in Hub: During configuration creation, use the factory calibration to tell the Smart Gateway the range of the sensor and how to scale the mA values.
|
| 4 ma (minimum value) reading | Choose the sensor reading that corresponds to a minimum value reading for the Smart Gateway. | Type the desired value into the text box. Units vary depending on what is being measured. |
| 20 ma (maximum value) reading | Choose the sensor reading that corresponds to a maximum value reading for the Smart Gateway. | Type the desired value into the text box. Units vary depending on what is being measured. |
| Prompt for sensor manufacturer | Choose whether you want to prompt the FieldLogic Tools user for the sensor manufacturer. | To enable prompting the user, check the box. |
| Prompt for sensor model | Choose whether you want to prompt the FieldLogic Tools user for the sensor model. | To enable prompting the user, check the box. |
| Prompt for serial number during activation | Choose whether you want to prompt the FieldLogic Tools user for the serial number. | To enable prompting the user, check the box. |
| Prompt for elevation during activation | Choose whether you want to prompt the FieldLogic Tools user for the elevation. | To enable prompting the user, check the box. |
| Sample rate | Choose how frequently samples are taken. This setting affects battery life. | Use the drop-down menu to select the sample frequency. The chosen sample rate automatically adjusts the transmit rate. The available sample rate/ transmit rate pairs are:- Sample once per 12 seconds/transmit once per 1 minute
- Sample once per 20 seconds/transmit once per 1 minute
- Sample once per 1 minute/transmit once per 5 minutes
- Sample once per 5 minutes/transmit once per 15 minutes
- Sample once per 15 minutes/transmit once per 1 hour
- Sample once per 1 hour/transmit once per 4 hours
- Sample once per 6 hours/transmit once per 24 hours
- Sample once per 24 hours/transmit once per 84 hours
|
| Transmit rate | Choose how frequently samples are transmitted. This setting affects battery life. | The transmit rate adjusts automatically based on the chosen sample rate. |
| Fault Detection: High Measured Unit | Varies depending on the type of sensor. Choose whether the sensor activates the High Measured Unit alarm, and the activation conditions. | To enable the High Measured Unit alarm, check the box. Type the desired alarm trigger temperature and number of sample readings into the text boxes. |
| Fault Detection: Low Measured Unit | Varies depending on the type of sensor. Choose whether the sensor activates the Low Measured Unit alarm, and the activation conditions. | To enable the Low Measured Unit alarm, check the box. Type the desired alarm trigger temperature and number of sample readings into the text boxes. |
| Fault Detection: Measured Unit Inside Range | Varies depending on the type of sensor. Choose whether the sensor activates the Measured Unit Inside Range alarm, and the activation conditions. | To enable the Measured Unit Inside Range alarm, check the box. Type the desired alarm trigger temperatures and number of sample readings into the text boxes. |
| Fault Detection: Measured Unit Outside Range | Varies depending on the type of sensor. Choose whether the sensor activates the Measured Unit Outside Range alarm, and the activation conditions. | To enable the Measured Unit Outside Range alarm, check the box. Type the desired alarm trigger temperatures and number of sample readings into the text boxes. |


